Featured here: the CARPRO CARPRO CQUARTZ UK 3.0 Ceramic Coating Kit.
How this is funded: we earn an Amazon commission when you buy through our links, at no extra cost to you. We sell nothing and stock nothing, so a pick is never a product we are trying to move. Prices are pulled live from Amazon and were last checked October 5, 2026; where we cannot verify a price we say so rather than print an old one. Full disclosure.
Research-basedPicked from published specifications and the pattern across verified-purchase reports. We have not used these ourselves and do not pretend otherwise.How we pick
A ceramic coating bonds to bare clear coat. Anything between the two — wax, sealant, polishing oil, road film — becomes what the coating bonds to instead, and that is why almost every early coating failure traces back to the preparation rather than the product.
02
What you need before you start
The coating, and an honest look at the volume. 30 ml is tight on a large vehicle.
A suede or microfiber applicator block. Foam soaks the coating up and lays it unevenly — see applicator pads.
Eight to ten short-pile microfiber towels, clean and used for nothing else.
Panel prep spray or isopropyl alcohol diluted to 15% to 20%.
Nitrile gloves and good ventilation.
An inspection light — high spots are invisible under overhead lighting and obvious at a low angle.
A dry, still space above about 50F for the first 12 hours.
05Dry completely, including every panel gap and badge recess.
06Panel wipe every surface you are about to coat, and let it flash off. This is the step that is most often skipped and most often the cause of failure.
04
The gear this process assumes
A forgiving coating, the correct applicator, leveling towels, and the top-tier coating for comparison. Prices are live from Amazon.
CARPROSpec-verified
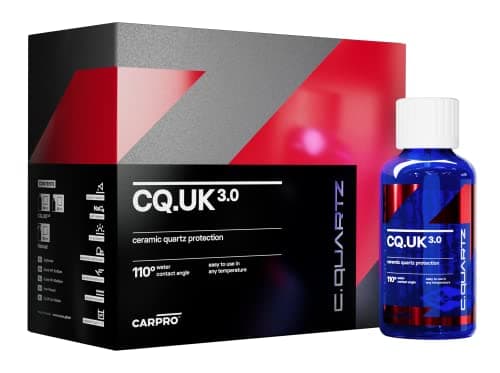
CARPRO CQUARTZ UK 3.0 Ceramic Coating Kit
Best for: A real coating that forgives a cooler, damper garage
The UK formulation exists specifically because the original CQuartz was difficult to work with in cold, humid conditions — which describes most home garages for half the year. It flashes more predictably at lower temperatures, and that single property makes it the easier real coating to install well.
Who should skip it. Anyone expecting the outright durability of the top tier. UK 3.0 trades some claimed life for a far wider application window, and that is a deliberate and sensible trade for a driveway installation.
Claimed durability
8.0
Ease of application
8.5
Gloss
8.5
Beading
9.0
Value
8.5
What works
Formulated for cooler, damper conditions — the real-garage coating
Comes as a kit, so nothing essential is missing
Far more forgiving flash window than the top-tier coatings
What does not
Shorter claimed life than Crystal Serum Light
Still wants a corrected, panel-wiped surface
50 ml is enough for one car and little margin for error
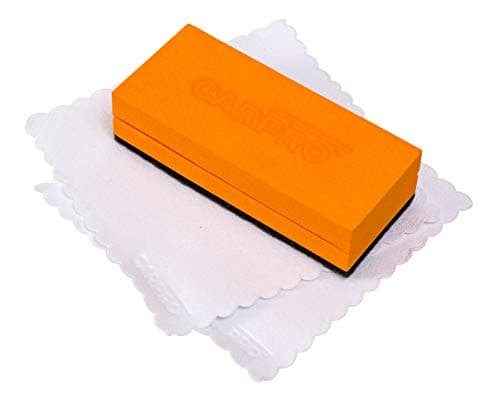
A coating applied with a foam pad soaks into the pad and goes on unevenly; a suede-wrapped block lays it down in a controlled, visible line. This kit includes the block, the suede and the leveling towels, which is the complete set for one install.
Who should skip it. Wax and sealant, where cheap foam applicators do the job perfectly well and these are an expensive waste.
Coverage
9.5
Durability
7.0
Versatility
5.0
Value
7.5
What works
The correct applicator for a coating, which matters a great deal
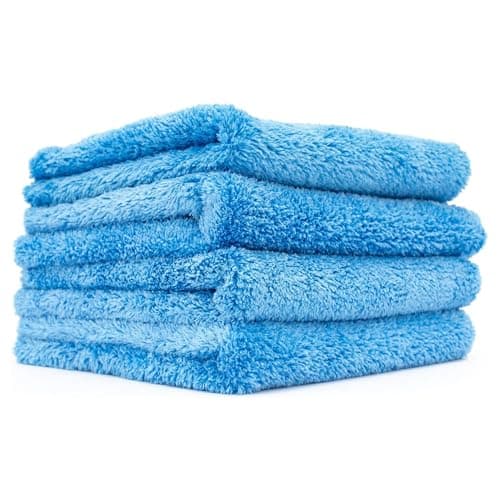
500 GSM, edgeless, and the towel most detailers end up buying in bulk. Edgeless matters more than the GSM figure: a stitched border is the single most common source of a scratch on an otherwise careful job.
Who should skip it. Drying a whole car. At 16 x 16 in these are buffing and detailing towels, and you would need a stack of them to dry a sedan.
Absorbency
8.5
Softness
9.0
Edge safety
10.0
Value
8.0
What works
Edgeless, which removes the most common scratch source
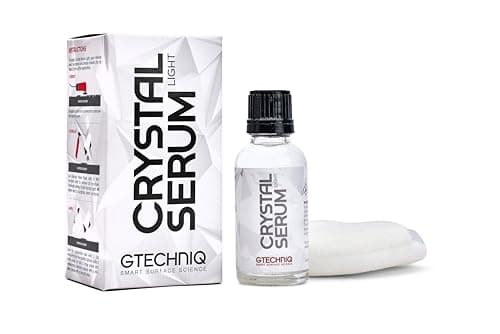
Crystal Serum Light is the consumer version of the coating Gtechniq's accredited installers use, and it is the most durable thing on this page that does not require a trained applicator. It also punishes bad prep more than anything else here — whatever the paint looks like when you apply it is what you are sealing in.
Who should skip it. A first coating on an uncorrected car. The durability is the whole point, and locking swirl marks under a multi-year coating is an expensive way to regret skipping a polish.
Claimed durability
9.5
Ease of application
6.0
Gloss
9.0
Beading
9.0
Value
8.0
What works
The longest claimed life available without installer accreditation
Genuinely hard, slick finish that resists wash marring
Small bottle goes a long way — one car uses a fraction of it
What does not
Unforgiving of poor prep; high flash point for mistakes
Needs a dry, still, temperature-controlled space to cure
The most expensive per-application product in this roundup
01Wrap the applicator block in the suede and add five or six drops of coating in a line across it.
02Work a 2 ft by 2 ft area, never a whole panel. Larger and the leading edge flashes before you reach it.
03Lay it down in overlapping crosshatch passes — left to right, then up and down — so coverage is even. You should see a visible wet line.
04Watch for the flash. The coating goes from wet to a faint rainbow or hazy sheen, typically 30 seconds to 3 minutes depending on temperature.
05Level with the first towel as soon as it flashes, with light pressure.
06Buff with a second, clean towel immediately after.
07Inspect at a low angle with the light before moving on. This is when a high spot is still fixable.
08Repeat, overlapping the previous section slightly.
06
Stage three — cure
Keep it dry for at least 12 hours, 24 if you can. Rain or dew on an uncured coating leaves permanent marks.
Do not wash it for a week. The coating continues to harden well past the point it feels dry.
No wax, no sealant, no detail spray for a week. Anything applied over an uncured coating interferes with the cure.
Avoid parking under trees. Sap and bird droppings on a curing coating are a bad combination.
07
Afterwards — and this is where coatings are won or lost
A coated car wants a different maintenance routine. Wax-bearing shampoos leave a film that mutes the hydrophobic behavior. Automatic washes with brushes mar the coating as they would mar paint. Decontamination twice a year keeps bonded fallout from killing the beading.
Wash, decontaminate, correct if needed, panel wipe, then apply in 2 ft sections with a suede applicator, level as it flashes and buff with a second towel. Inspect each section at a low angle before moving on, and keep the car dry for 12 to 24 hours.
What is a high spot and how do you fix it?
Excess coating that cured without being leveled — a visible smear or rainbow patch. Within a few minutes, apply a little more coating to re-wet it and level again. Once cured, it has to be machine polished off, which is why inspecting each section matters.
How long does a ceramic coating take to cure?
It is dry to the touch in an hour or two, needs 12 to 24 hours before it can get wet, and continues hardening for about a week. Do not wash the car, apply anything over it, or let rain touch it during the first 12 hours.
Can you apply a ceramic coating outside?
You can apply it outside and you cannot cure it outside. The first 12 hours need to be dry and still — dew alone is enough to mark an uncured coating. If you have no covered space, a spray coating is the honest alternative.
09
Sources
Every published figure on this page traces to one of these. Where a manufacturer does not publish a number, the page says so rather than estimating it.
Last reviewed October 5, 2026. Think a figure here is wrong? Tell us at contact@detailingandwax.com and we will check it, fix it and date the correction — see our editorial policy.