Independent picks for detailing your own car. We stock nothing, so we have nothing to move.
01
Polishers & correction
The best headlight restoration kits
Almost every kit on the shelf will make a cloudy lens clear for a few months. Only some of them include the one step that decides whether it stays clear.
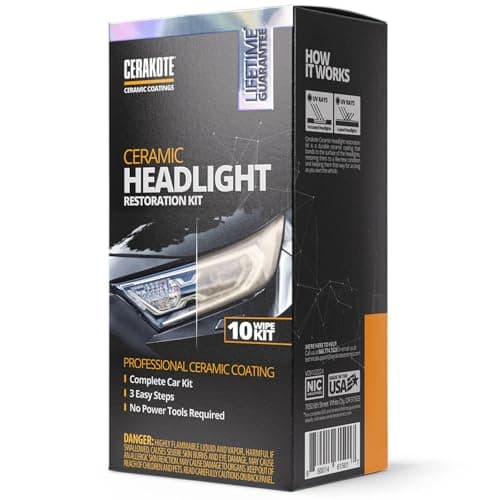
Our top pick: the CERAKOTE Ceramic Headlight Restoration Kit, 10 Wipe Kit.
How this is funded: we earn an Amazon commission when you buy through our links, at no extra cost to you. We sell nothing and stock nothing, so a pick is never a product we are trying to move. Prices are pulled live from Amazon and were last checked November 19, 2026; where we cannot verify a price we say so rather than print an old one. Full disclosure.
Research-basedPicked from published manufacturer specifications and the consistent pattern across verified-purchase owner reports. Every product here scores 8.4 or better on our rubric.How we pick
Tap any row for the full write-up. Prices come straight from Amazon and are never typed in by hand.
The verdict
CERAKOTE's Ceramic Headlight Restoration Kit is the pick for most people, because it is a three-step wipe job that ends in a ceramic UV layer and needs no tools at all. If the lenses are badly gone, the 3M Ultra kit is the only one here with a full graded wet-sanding sequence. SYLVANIA's kit is the choice if you want the UV coating to be the main event.
02
What is actually wrong with your headlights
A modern headlight lens is polycarbonate, and polycarbonate yellows in sunlight. The factory knows this, which is why every lens leaves the plant with a thin hard UV coating sprayed onto the outside. That coating is what fails — not the plastic underneath it. Years of sun, heat cycling and road grit break it down, and what you see as cloudiness is a layer of failed coating sitting on top of still-clear plastic.
This matters because it tells you what a restoration kit has to do. The job is not polishing plastic; it is removing the dead coating entirely and then putting a new protective layer where it used to be. A kit that does the first half and skips the second will absolutely make the lens clear — and the now-bare polycarbonate will start yellowing from day one, because you have removed the only UV protection it ever had.
That is the single most useful thing to know before you spend anything. A cheap kit with no UV step is not a bad product; it is a product that buys you a season. A kit that finishes with a real coating is doing the thing that makes the work last. The ranking on this page is built around that distinction more than around how aggressively each kit cuts.
03
The four things that separate these kits
Whether there is an abrasive stage at all. Wipe-only kits strip the failed coating chemically. That is enough for haze and yellowing, and it is not enough for pitting from stone chips, which has to be levelled with abrasive.
Whether the abrasive is graded. A single compound does one thing. A sequence of progressively finer discs removes damage with the coarse step and then removes its own scratches with the fine ones. Graded sequences recover worse lenses, and they punish you for skipping a grade.
What the last step leaves behind. A wax protectant, a sealant, a UV clear coat and a ceramic coating are four different levels of commitment. Only the last two are really doing the job the factory coating did.
Whether you need a drill. Drill-driven kits do more work in less time and are the only sane way to run a full disc sequence. They are also, straightforwardly, not an option if there is no drill in the house.
What each maker publishes about its own kit. 'Not published' is a blank in the manufacturer's own material, not our guess.
Kit
Abrasive stage
Last step
Drill needed
CERAKOTE 10 Wipe Kit
None — chemical strip
Ceramic UV coating
No
SYLVANIA Headlight Restoration Kit
Activator + clarifying compound
UV-protective clear coating
No
3M Ultra (39195)
Graded sanding discs, wet
Wax protectant
Yes
Meguiar's Ultimate
Included
Sealant — 18+ months claimed
No
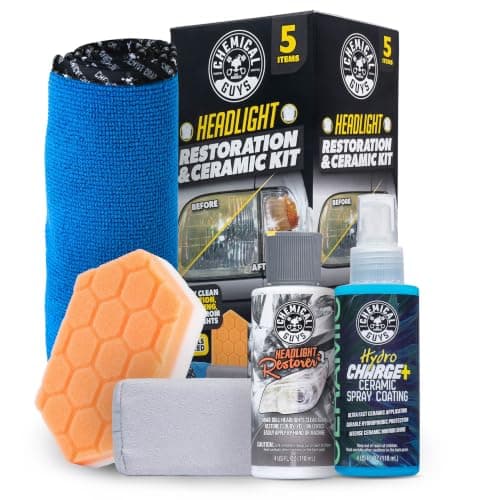
Chemical Guys Restoration & Ceramic
Headlight Restorer IQ, by hand
HydroCharge+ ceramic coating
No
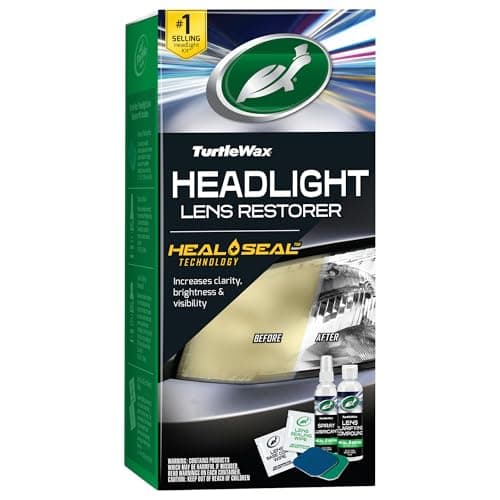
Turtle Wax Restoration Kit
Included
Not published
No
04
The ranked headlight restoration kits
Ordered on what the kit leaves on the lens when you are finished, then on how much damage its abrasive stage can actually recover. Prices are live from Amazon.
A three-step wipe system that chemically strips the failed factory coating and lays a ceramic UV layer in its place. No discs, no drill, no dust — which makes it the kit most likely to actually get used on a Saturday morning.
Clarity recovered
Good
UV protection
Exceptional
Ease of use
Exceptional
Value
Strong
Why we picked it
No sanding, no dust, no masking — genuinely a 3-step wipe job
Leaves a ceramic UV layer rather than a wax
The fastest route from cloudy to clear on this page
Good to know. CERAKOTE publish no month figure for the ceramic layer
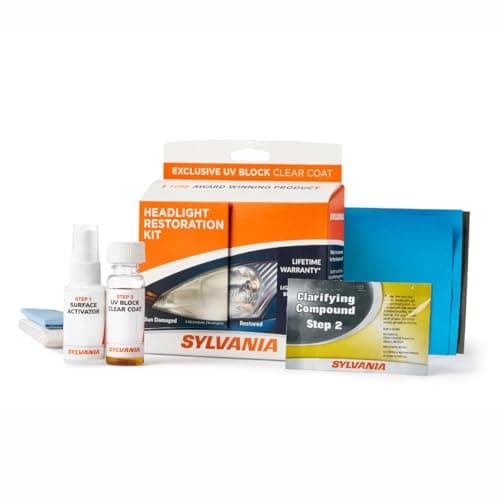
SYLVANIA build the kit around the step that decides how long the job lasts: a UV-protective coating applied after the abrasive work. A restored lens with no UV layer is a lens that will yellow again, and this is the kit that takes that seriously.
Clarity recovered
Strong
UV protection
Exceptional
Ease of use
Good
Value
Strong
Why we picked it
Finishes with a UV-protective coating, not a wax
No power tool needed
Made by a headlight manufacturer rather than a chemical company
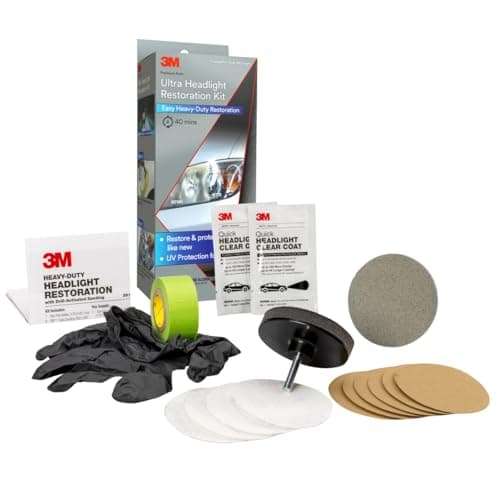
A drill-driven wet-sanding kit from the company that supplies the abrasives most body shops already use. It is the only kit here that takes the lens through a full graded disc sequence, which is why it recovers lenses the wipe-on kits cannot touch.
Clarity recovered
Exceptional
UV protection
Adequate
Ease of use
Adequate
Value
Exceptional
Why we picked it
The only full graded wet-sanding sequence in this group
Includes masking tape, which the cheap kits leave you to buy
3M abrasives are the professional reference for this job
Good to know. Needs a drill — it is not a hand kit
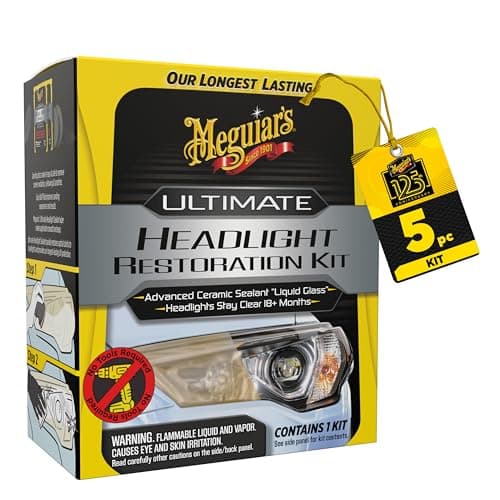
Meguiar's are the one manufacturer in this group willing to put a number on how long the sealing step lasts: 18 plus months of protection. Everyone else says 'long-lasting', which is not a claim you can hold anyone to.
Clarity recovered
Strong
UV protection
Strong
Ease of use
Strong
Value
Good
Why we picked it
The only published durability figure in this group
Hand-applied — no drill needed
Meguiar's consumer support is the best documented here
The only kit here that pairs a real abrasive restorer with a ceramic coating and still asks for no power tools. Headlight Restorer IQ cuts the failed coating off with abrasives, then HydroCharge+ ceramic spray goes on as the protective layer — the two halves of the job the cheap kits split up.
Clarity recovered
Good
UV protection
Strong
Ease of use
Exceptional
Value
Adequate
Why we picked it
Abrasive correction and a ceramic coating in one box, no drill
Comes with the pad, applicator and towel the job actually needs
Ends in a ceramic layer rather than a wax or a bare lens
Good to know. Dearer than the hand kits that do a similar amount of correction
The least expensive kit on the page by a clear margin, and it does remove oxidation and yellowing. Buy it to prove the lens is recoverable before spending more; if the result holds, you have lost very little.
Clarity recovered
Good
UV protection
Trade-off
Ease of use
Exceptional
Value
Exceptional
Why we picked it
By far the cheapest entry point here
Does genuinely remove oxidation and yellowing
No tools, no dust, very little to go wrong
Good to know. Turtle Wax publish no UV clear-coat step for this kit
On a typical ten-year-old daily driver the lens is yellowed and hazy but not physically damaged. There is no pitting to level, which means the abrasive stage has nothing to do except remove the failed coating — and a chemical strip does that without creating a single scratch that then needs polishing out.
That is the whole argument for the CERAKOTE kit. Three steps, ten wipes, no masking tape, no dust on the paint, no drill, and a ceramic UV layer at the end. The honest limit is that it cannot level anything: if a stone has chipped the lens, the chip is still there when you finish, now clear and still a chip.
When you genuinely need to sand
Reach for an abrasive kit when the lens surface is physically uneven — visible pitting, crazing, a scuffed patch from a car wash brush, or a previous restoration attempt that was polished unevenly. Those are geometry problems, and only abrasive removes geometry. The 3M Ultra kit is the one on this page built for it, because a graded disc sequence is the correct tool and 3M make the abrasives that professionals use for the same job.
Sanding a headlight for the first time is uncomfortable, and it should be: you are deliberately making the lens look worse before it looks better. After the coarse disc the lens will be uniformly frosted and you will be convinced you have ruined it. That is the expected state. Working through the remaining grades in order is what turns frosted into clear, and the only real failure mode is losing patience at the second grade.
06
The step everyone skips, and why the job fails
Ask why someone's headlights went cloudy again in four months and the answer is almost always the same: they polished the lens beautifully and then left it bare. Fresh polycarbonate with no UV layer in direct sun does not last. This is the reason a kit that ends in a coating is worth more than a kit that cuts harder, and the reason the scoring on this page weights UV protection as heavily as clarity.
01Clean the lens properly first. Any road film left on it will be ground into the surface by the first abrasive step.
02Mask the surrounding paint. Compound on a lens is fine; compound dragged across a painted fender is marring you will then need a polisher to remove.
03Do the abrasive work in order, wet where the kit says wet, and do not skip a grade to save ten minutes.
04Let the lens dry completely. Every coating and sealant here will fail on a lens that still has water in a surface scratch.
05Apply the UV step in thin even passes, and give it the full cure time before the car sees rain or sun.
07
What the published durability claims are worth
Only one maker in this group puts a number on the result: Meguiar's state 18 plus months of protection for their sealing step. Everyone else uses words — 'long-lasting', 'durable', 'like-new' — and words are not a claim you can hold anyone to. That is not evidence that the others are worse, and it is a real difference in what you are being promised.
Treat all of these figures as best-case, because every one of them assumes the lens was taken back to clean clear plastic before the coating went on. A UV layer applied over a partially stripped lens is bonded to failing coating rather than to polycarbonate, and it will come away with the layer underneath it. The durability of the last step is really a measure of how well you did the first one.
Where headlight work sits in a detail
Do lenses before you do paint correction, not after. Headlight compound and sanding slurry get everywhere, and you do not want either landing on paint you have just finished. The same logic that puts decontamination before polishing in paint correction steps puts headlights before the polisher comes out — and the detailing order of operations covers where everything else fits.
08
Maintaining the result
Once a lens is clear and coated, keeping it that way is cheap. Wash it with the car rather than letting bug splatter bake on. Keep anything abrasive away from it — the same rule that protects paint in how to wash a car without scratching applies to a soft plastic lens with more force, because polycarbonate marks far more easily than clear coat.
A plastic polish once or twice a year keeps light oxidation from establishing itself, and that is a different job from restoration. You are lifting a film off a lens that is fundamentally sound, not levelling a damaged surface, so the gentlest thing that works is the correct choice — a dedicated plastic polish rather than a restoration kit's abrasive stage.
If the lenses are already clear and you simply want them to stay that way, skip restoration entirely and put a UV sealant on them at the next wash. Prevention on a good lens costs a fraction of recovery on a failed one, and polycarbonate never gets better on its own.
CERAKOTE's Ceramic Headlight Restoration Kit for most cars — it is a three-step wipe system that needs no power tools and finishes with a ceramic UV layer, which is the step that decides how long the result lasts. For lenses with pitting or crazing that need levelling, the 3M Ultra kit is the only one here with a full graded wet-sanding sequence.
Do headlight restoration kits actually work?
Yes, on the usual problem. Cloudiness is almost always the factory UV coating breaking down on the outside of the lens, and removing it does restore clarity. What a kit cannot fix is haze on the inside of the housing from moisture or a degraded reflector. Run a finger over the cloudy area first: rough means a kit will work, smooth means it will not.
How long does headlight restoration last?
It depends almost entirely on whether the kit puts UV protection back. Meguiar's are the only maker here publishing a figure, at 18 plus months. A kit with no UV step leaves bare polycarbonate in the sun, and that typically starts yellowing again within a season. Every published figure assumes the lens was stripped back to clear plastic first.
Can you restore headlights without sanding?
Yes, if the lens is only yellowed or hazy. Wipe kits strip the failed coating chemically, which avoids creating scratches that then need polishing out. Sanding becomes necessary when the surface is physically uneven — pitting from stone chips, crazing, or scuffing from a car wash brush — because only abrasive removes damage with depth to it.
Do I need a drill for a headlight restoration kit?
Only for one of them. The 3M Ultra kit runs its sanding discs on a drill, which is why it is the kit that recovers the worst lenses. The CERAKOTE, SYLVANIA, Meguiar's, Chemical Guys and Turtle Wax kits on this page are all hand-applied, so no power tool is required.
Is toothpaste a substitute for a headlight kit?
No. Toothpaste is a mild abrasive and it will take the top off light haze, which is why the trick circulates. It removes no failed coating in any controlled way and it leaves nothing protective behind, so the lens is bare afterwards and yellows faster than before. It is a demonstration, not a repair.
11
Sources
Every published figure on this page traces to one of these. Where a manufacturer does not publish a number, the page says so rather than estimating it.
Last reviewed October 19, 2026. Think a figure here is wrong? Tell us at contact@detailingandwax.com and we will check it, fix it and date the correction — see our editorial policy.